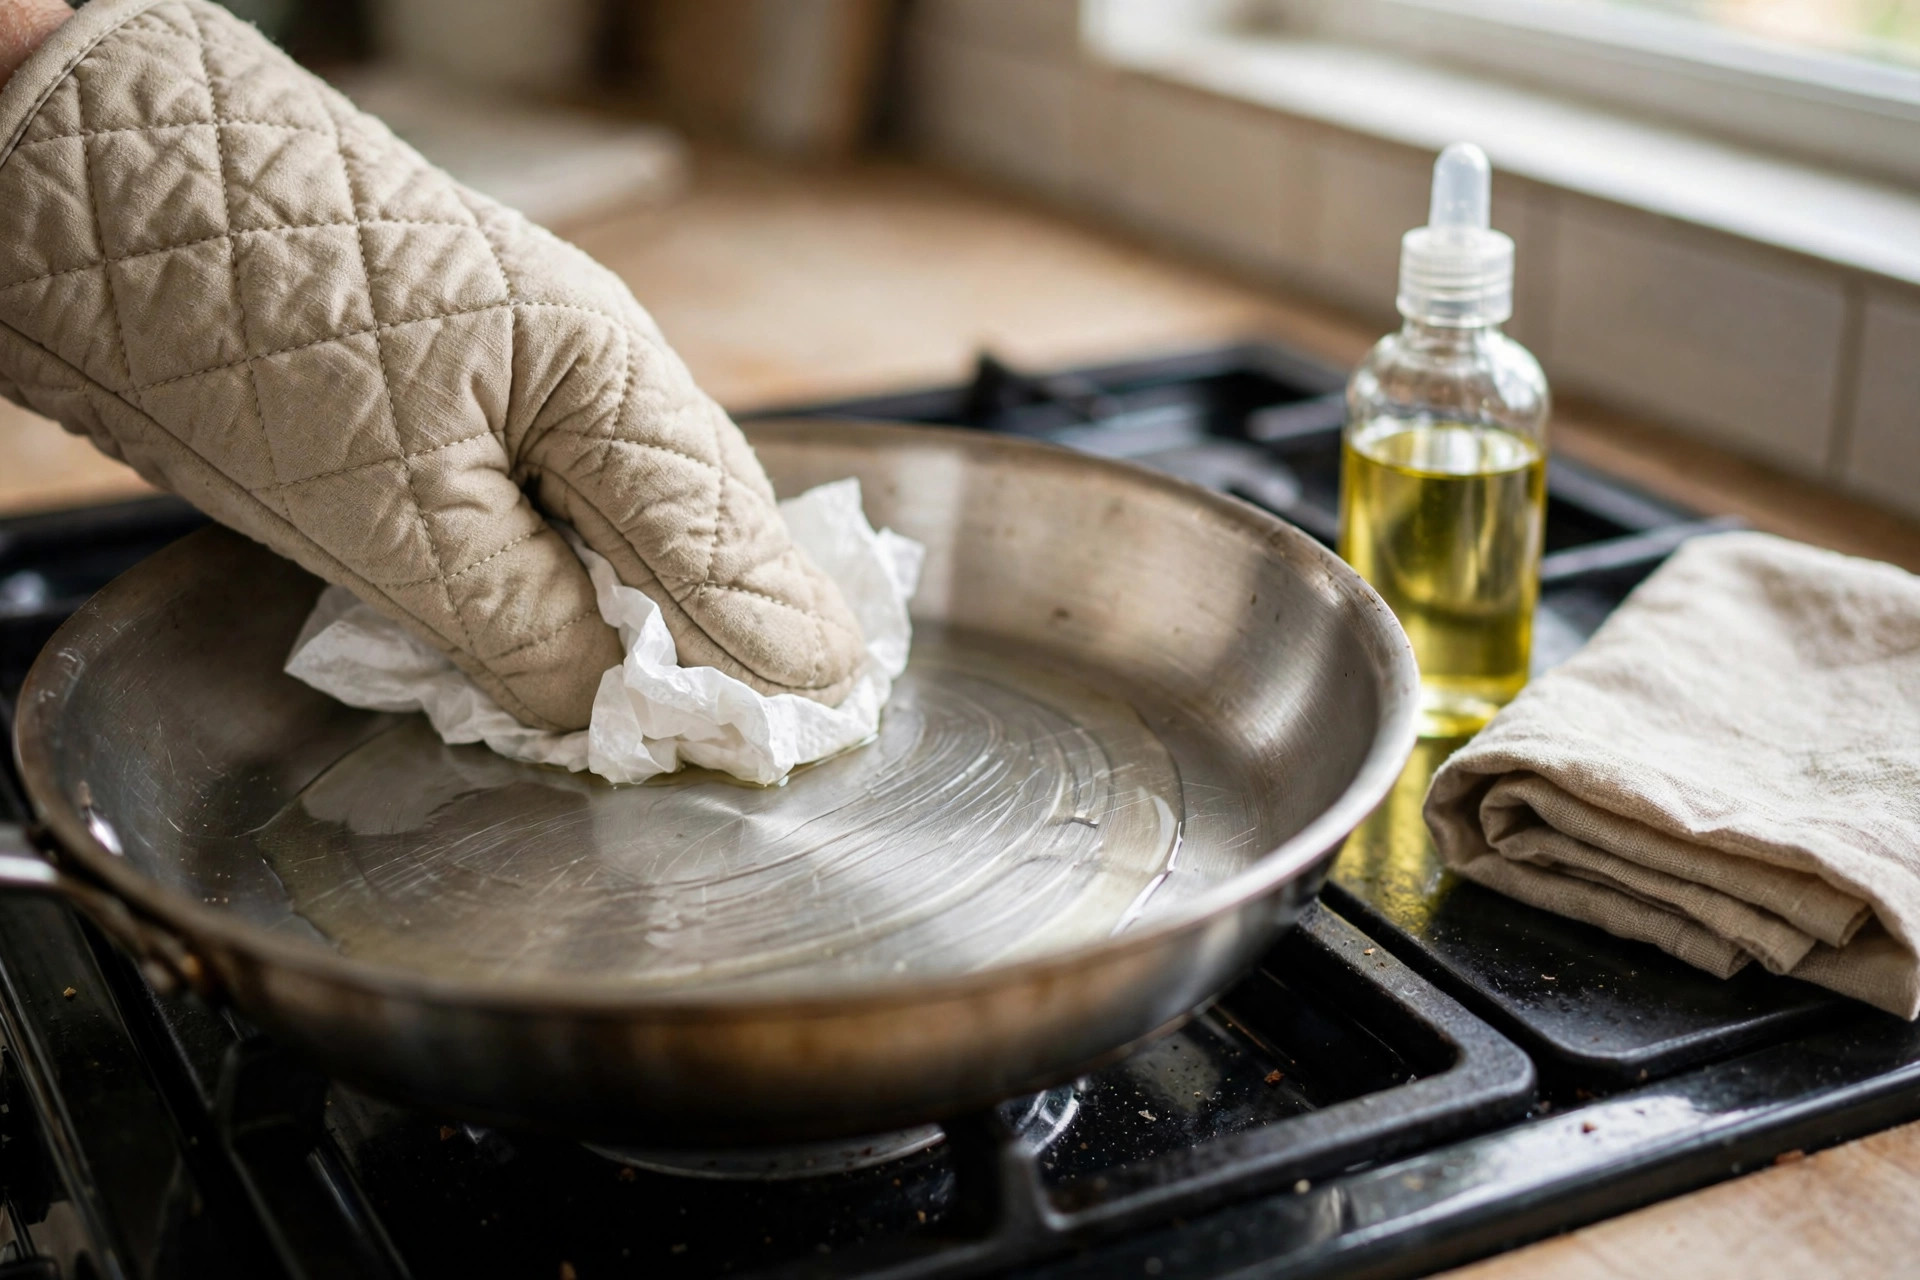
Seasoning aluminum cookware is the step most people skip — and the reason their brand-new pans stick, stain, and develop that metallic taste within months. Bare aluminum looks smooth, but under a microscope its surface is full of tiny pores that trap food particles and react with acidic ingredients. Seasoning fills those pores with a thin, baked-on layer of oil that behaves like a natural non-stick coating: food releases more easily, the pan resists discolouration, and cleaning becomes dramatically simpler. Here's how to do it properly, whether your pan is fresh out of the box or an old faithful that needs restoring.
Which pans actually need seasoning?
First, a quick reality check: not all aluminum cookware needs this treatment. If your pan has a factory non-stick coating (like Teflon) or is hard-anodised with a sealed surface, do not season it — you'll just create a gummy mess on top of a coating that was designed to work as-is. Seasoning is for bare, uncoated aluminum pans and pots: the lightweight, silvery ones common in South Asian kitchens for karahis and degchis. These are the pans that discolour, pit, and grab onto food, and they're exactly the ones that benefit most. When in doubt, check the manufacturer's instructions before you start.
What you'll need
The gear list is refreshingly short: your aluminum pan, washing-up liquid, a soft cloth or sponge, a clean towel, paper towels, and a neutral vegetable oil with a reasonably high smoke point (groundnut, sunflower, or plain vegetable oil all work). Avoid extra-virgin olive oil — it smokes too early and leaves sticky residue. You'll also need an oven, and if your pan has wooden or plastic handles, check they're oven-safe first or remove them if you can. As OvenSpot's step-by-step seasoning guide stresses, the golden rule is: thin layers of oil. Too much oil doesn't make better seasoning — it makes a tacky, sticky surface you'll have to scrub off and start again.
The oven method, step by step
1. Wash and dry thoroughly. Scrub the pan in hot, soapy water with a soft cloth — never soak aluminum for long periods — then towel-dry it completely. Any moisture left on the surface will interfere with the oil bonding.
2. Apply a whisper-thin coat of oil. Pour a teaspoon of vegetable oil onto a paper towel and rub it over every cooking surface, inside and out. Then — this is the crucial part — take a clean paper towel and wipe it all off again. The pan should look almost dry, with just the faintest sheen. What remains is exactly the right amount.
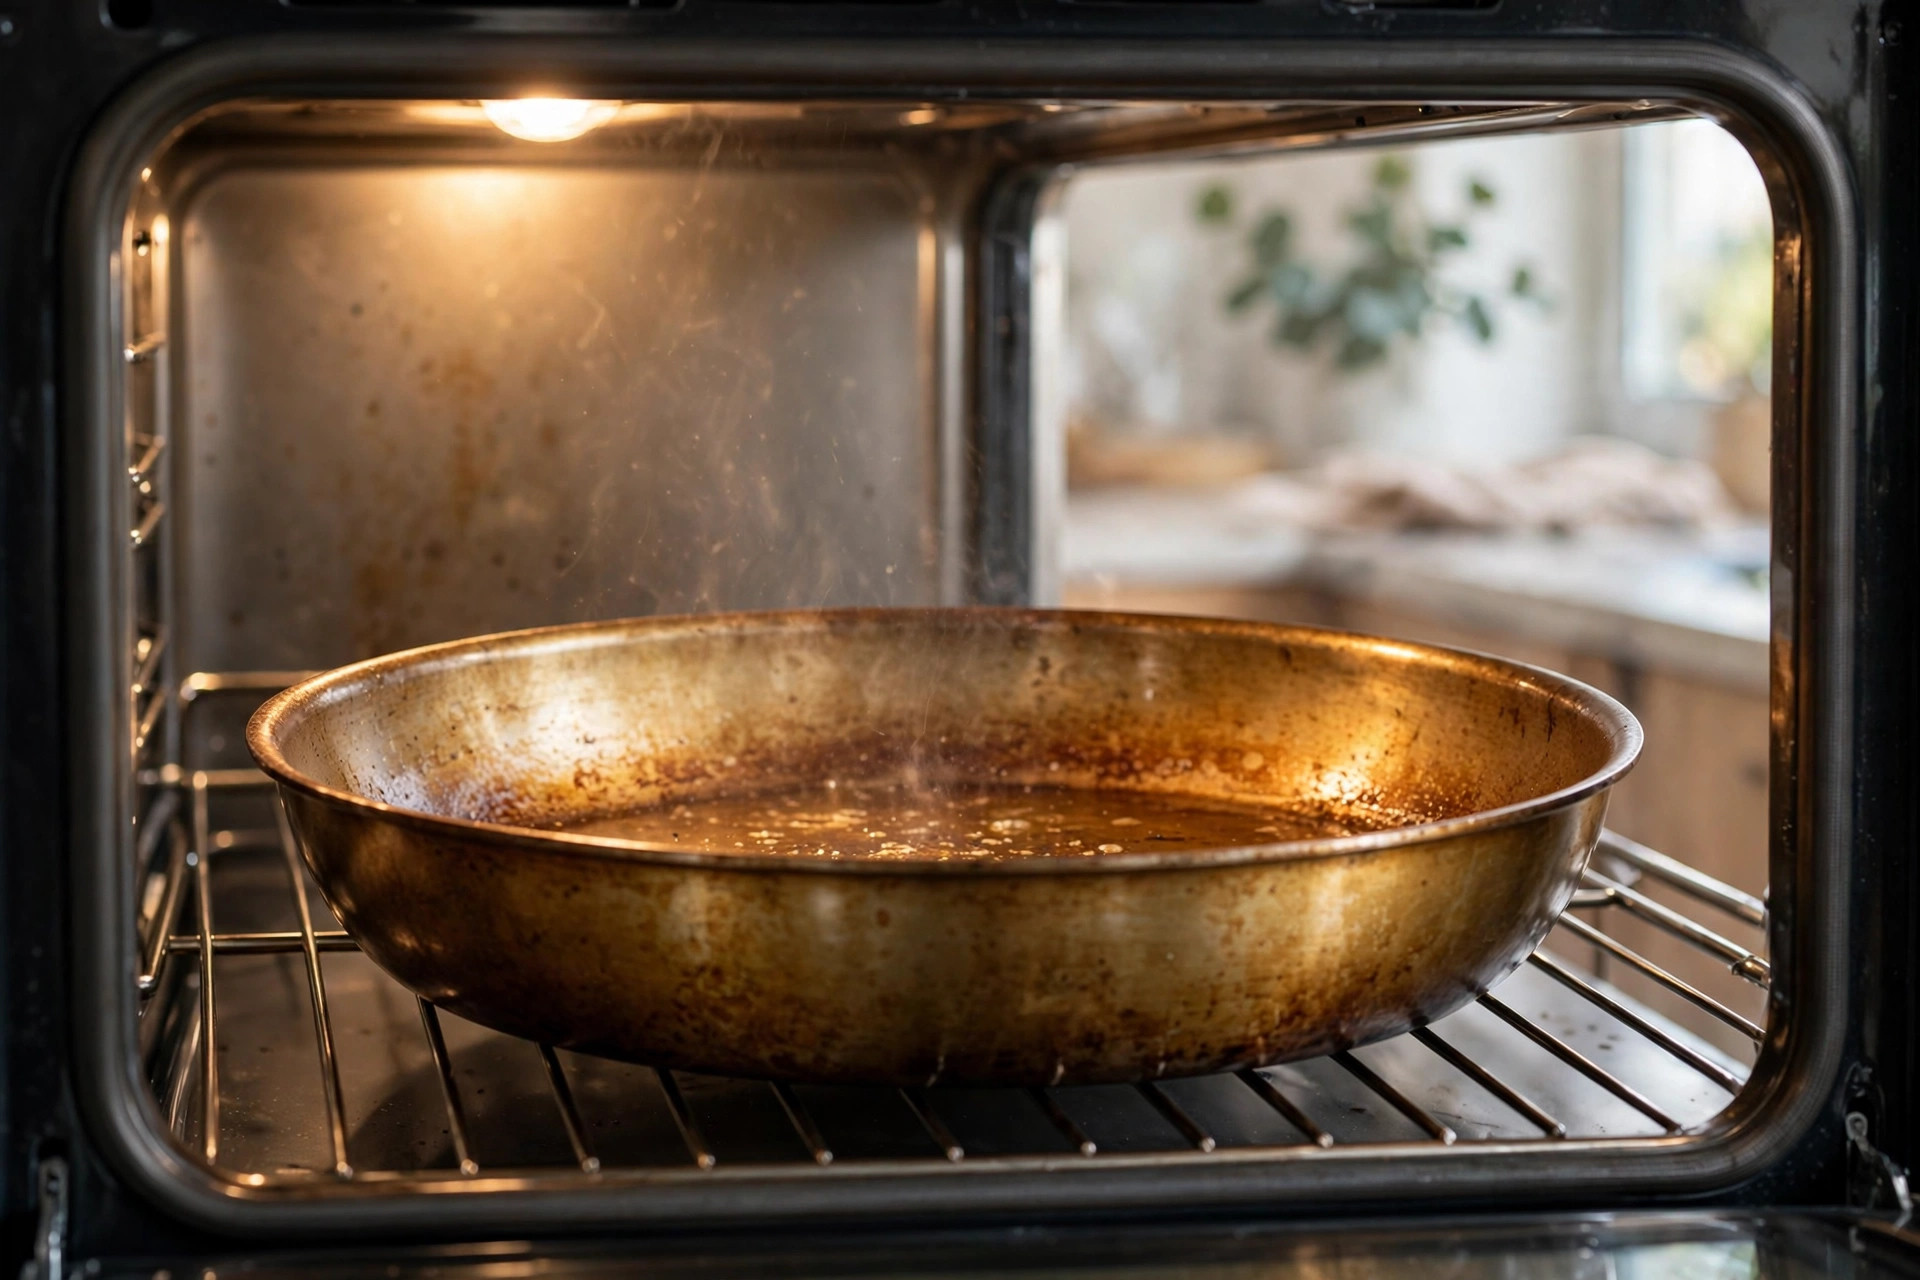
3. Bake upside down. Preheat your oven to 120°C (250°F), place the pan upside down on the middle rack (this stops oil pooling), and bake for two hours.
4. Cool completely in the oven. Turn the oven off and let the pan cool down inside it. Don't rush this — the seasoning layer hardens as it cools.
5. Wash gently and dry. A quick wash with a soft cloth, thorough drying, and your pan is ready. If the surface still looks patchy or dull rather than evenly golden, simply repeat the oil-and-bake cycle once more.
The quick stovetop method
No oven, or in a hurry? Heat the clean, dry pan over medium heat, add a thin film of oil, and keep heating until the oil just begins to smoke. Immediately remove from the heat and let it cool completely, then wipe out the excess. Repeat two or three times to build up layers. This method is faster but produces a thinner, less even seasoning than the oven method — fine for a refresh between full oven seasonings, or for a pan you use daily like a karahi for chicken white karahi.
Keeping the seasoning alive
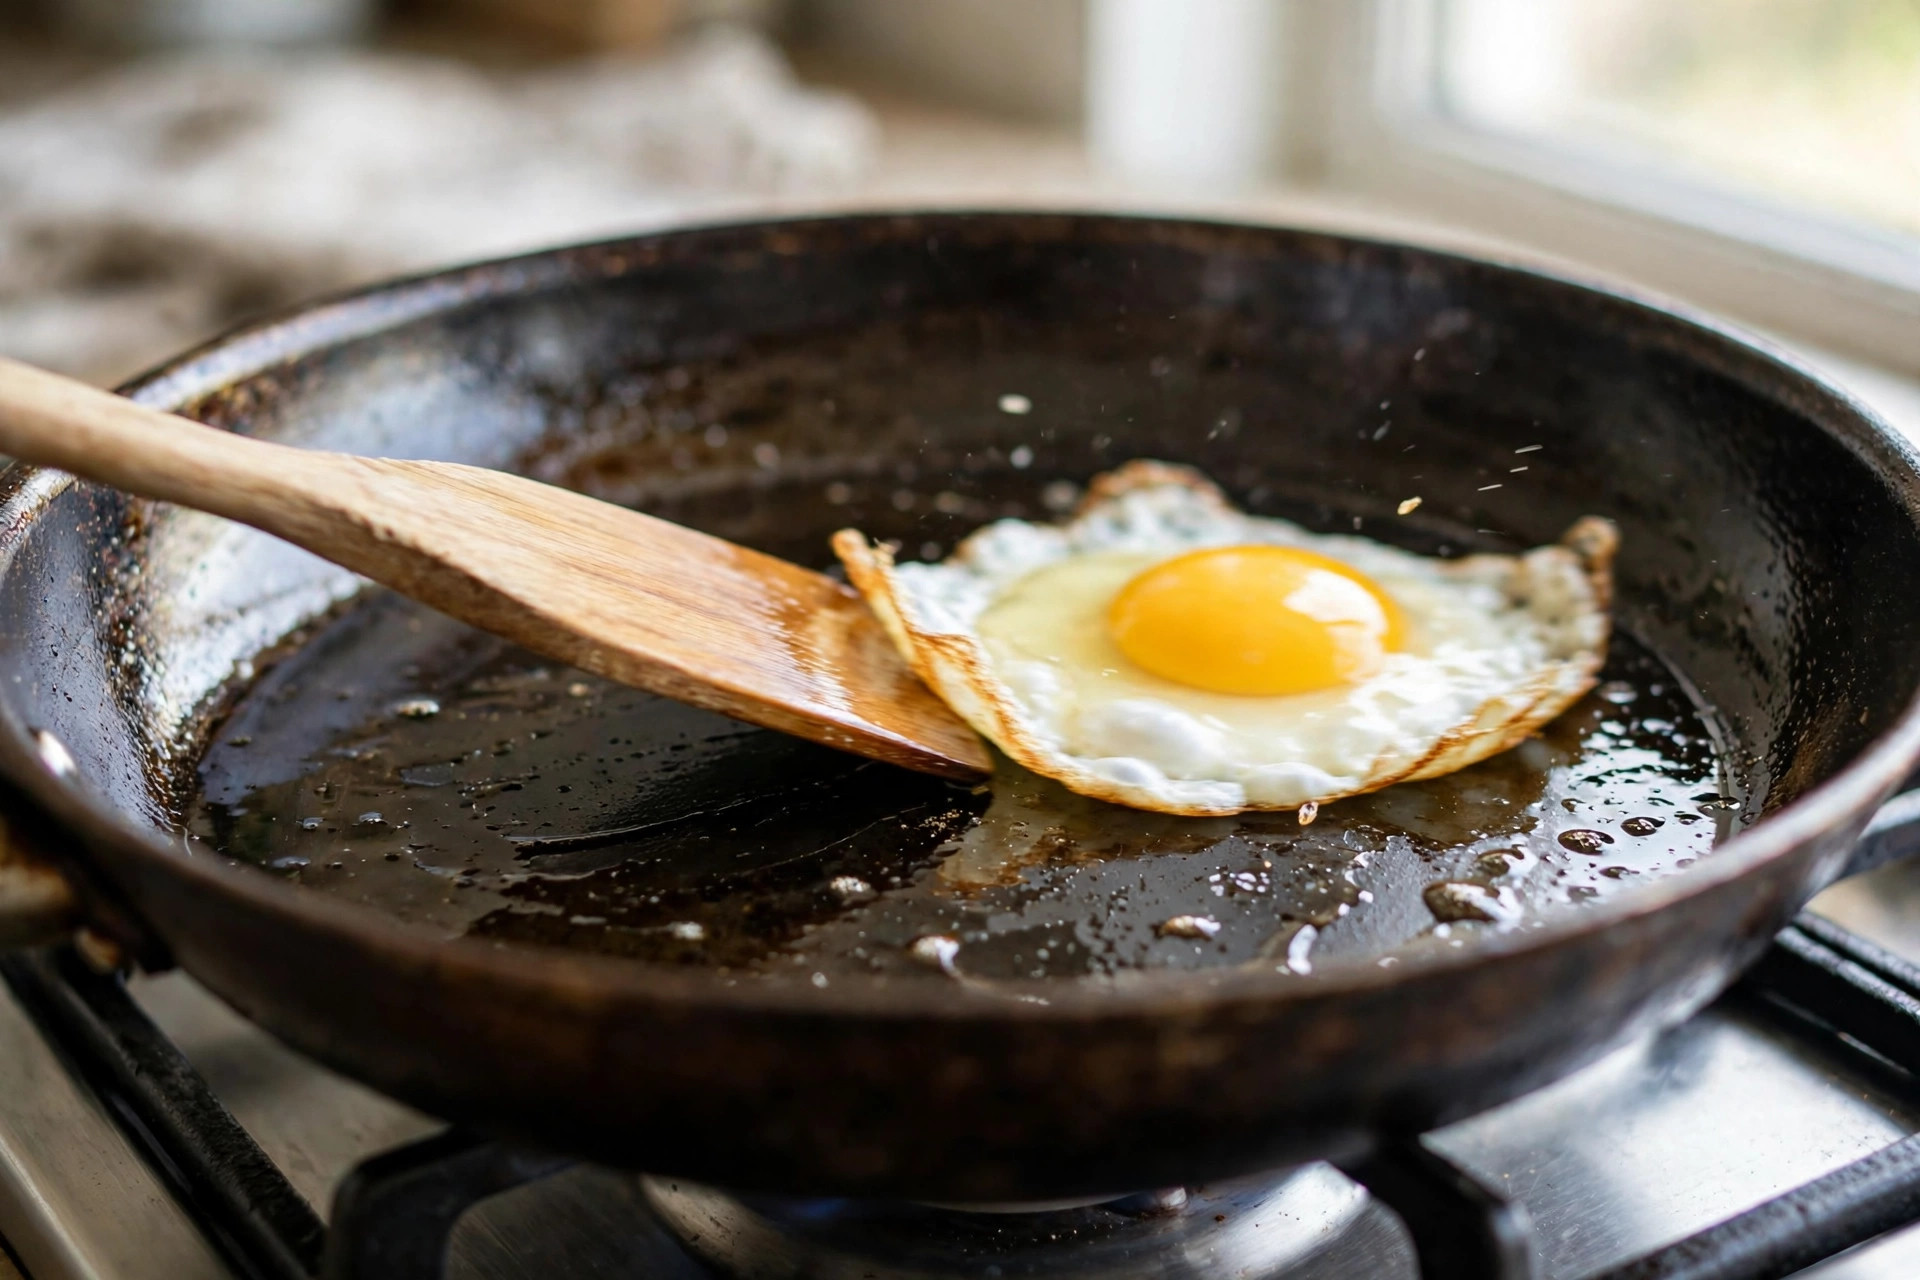
Seasoning isn't permanent — every wash wears it down slightly, and cooking acidic foods like tomatoes or tamarind strips it faster. Protect your work with a few habits: hand-wash only with mild detergent and a soft sponge (dishwasher detergents are harsh enough to dull aluminum and destroy seasoning), avoid metal utensils that scratch the surface, and never plunge a hot pan into cold water — the thermal shock can warp aluminum. Cook with moderate heat rather than blasting the burner; aluminum conducts heat so efficiently that medium is usually plenty. When food starts sticking again despite oil, or the surface loses its sheen, that's your signal to re-season. A well-maintained seasoned pan only gets better with age — it's the secret behind those decades-old karahis that cook like a dream, whether you're making sweet and sour chicken or steaming through our healthy steam pot recipes.
Mistakes to avoid
Using too much oil — the number one error. Tacky is not non-stick; wipe it nearly dry before baking.
Seasoning coated pans — non-stick and anodised surfaces don't need it and you'll ruin the factory finish.
Skipping the drying step — oil over moisture creates a blotchy, weak layer.
Cooking highly acidic dishes in bare aluminum — even seasoned, long-simmered tomato or tamarind dishes can react with the metal and taste metallic; use stainless steel or enamelled cookware for those.
Done right, seasoning aluminum cookware takes one quiet afternoon and pays off for years in easier cooking and easier cleaning. Your pans will thank you every time an egg slides out instead of welding itself on.